How to upgrade SIMS without Solus 3
The following notes will take you through the process of upgrading SIMS and FMS without using Solus 3. This is useful for upgrading SIMS on the cube, upgrading our training suite to a beta release, and upgrading the social media laptop.
Step 1 – Downloading the latest update
Current the latest releases are posted on the Capita My Account site here
If you don’t have an account for Capita My Account you can also download the latest version from here
Step 2 – Unzipping the file
If you downloaded the update from Capita My Account the file will be zipped and will require a password to unlock it. The password is located next to the download link on the Capita My Account latest releases page. To unzip the file you will need to use 7zip by right clicking on the file and choosing 7zip>Extract Here, it will then ask you for the password.
![]()
Step 3 – Running the update
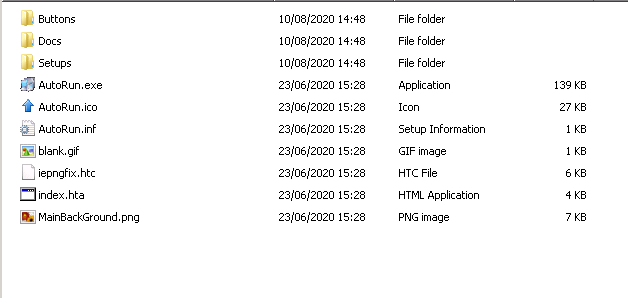
Once unzipped you will be presented with a file (usually named after the update) double click on the file and it will create a new drive under your Computer/My PC area. Open the drive and double click the Auto Run.exe file, this will then open the installation wizard.
Step 4 – The installation wizard
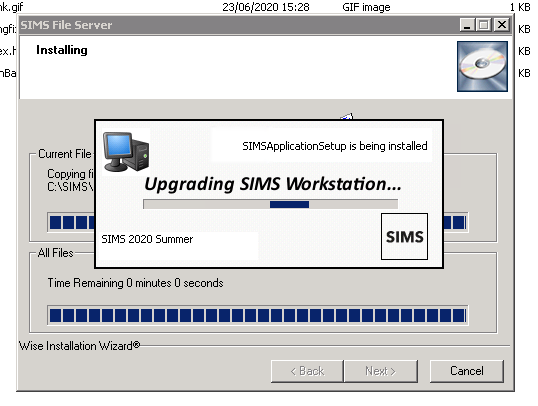
This step is relatively straight forward, all you need to do is click the Upgrade SIMS button. the wizard will then appear, click the next button once and confirm that the file path is correct (This is normally C:\SIMS\Setups). After checking this, click the next button twice more and the upgrade will begin.
Step 5 – DB Upgrade
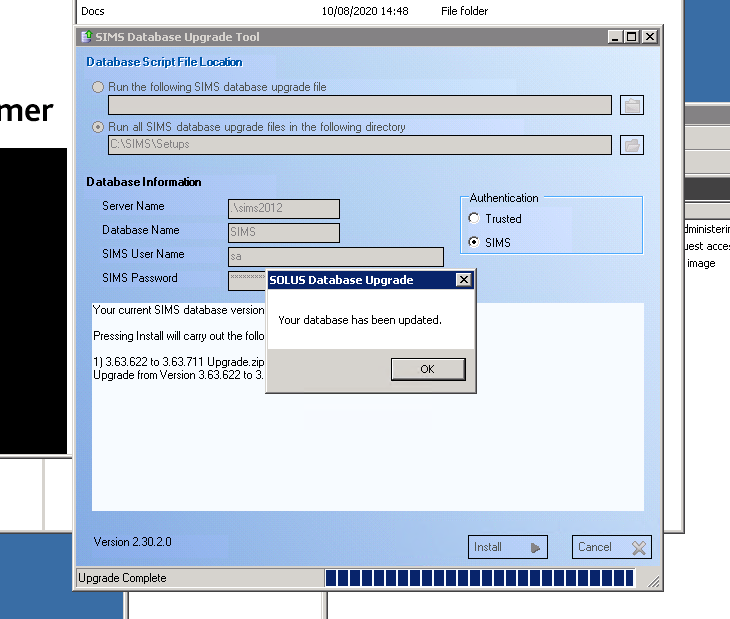
Once the wizard has complete the bulk of the upgrade, it will automatically load DB Upgrade. At this point enter the Server Name, Database Name, SIMS Username, and SIMS Password. The Server Name and Database Name can be found from the Connect.ini file, which is usually located in C:\SIMS. For the SIMS Username and Password you would usually use the SA login. (If you are working on the training environment the SA login can be found in the “Upgrading the VDI Training Data” notes under the training tab of the Service Desk links.)
Once you have entered the details, click the Install button to run the updates. This process may take a while to run. When it has finished it will look like the screenshot below. Click the OK button, and then the Finish button.
Step 6 – Running the .exe files
Browse to C:\SIMS\Setups and run the following files:
- simsapplicationsetip.exe
- simscentralserversetup.exe
- simsdocumentserverinstaller.exe
- simssqlapplicationsetup.exe
- simsamparksetup.exe
Step 7 – Open SIMS
After completing the previous 6 steps you should now be able to open SIMS. As SIMS loads the splash screen should give you an indication of whether the correct version has now been installed, however you can also confirm this by browsing to Help>About SIMS.net.