Authorising an Update/Patch via Solus 3
To authorise an update or patch for a school (SIMS/FMS/Discover) via Solus 3, first, logon on to the Scomis Solus 3 Authorising server (solus3-int.scomis.org) using your SIMSNET credentials via the shortcut on the Hosted desktop.
PLEASE NOTE: You will need to enter your username prefixed with SIMSNET i.e.
SIMSNET\Joe.Bloggs43
Once logged in,from the desktop, launch the Solus 3 Deployment Server UI.
Click on “Upgrades”, “Update Library” and then the “Updates” tab.
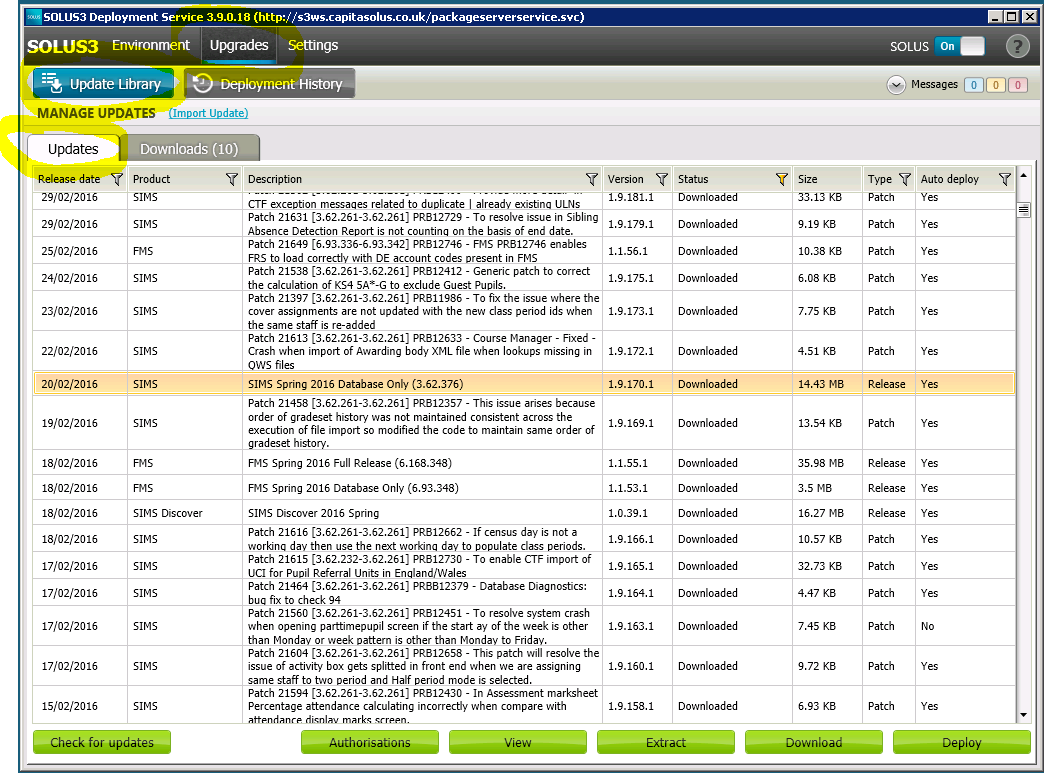
Click on the update or patch that you wish to authorise to select it and then click on “Authorisations”.

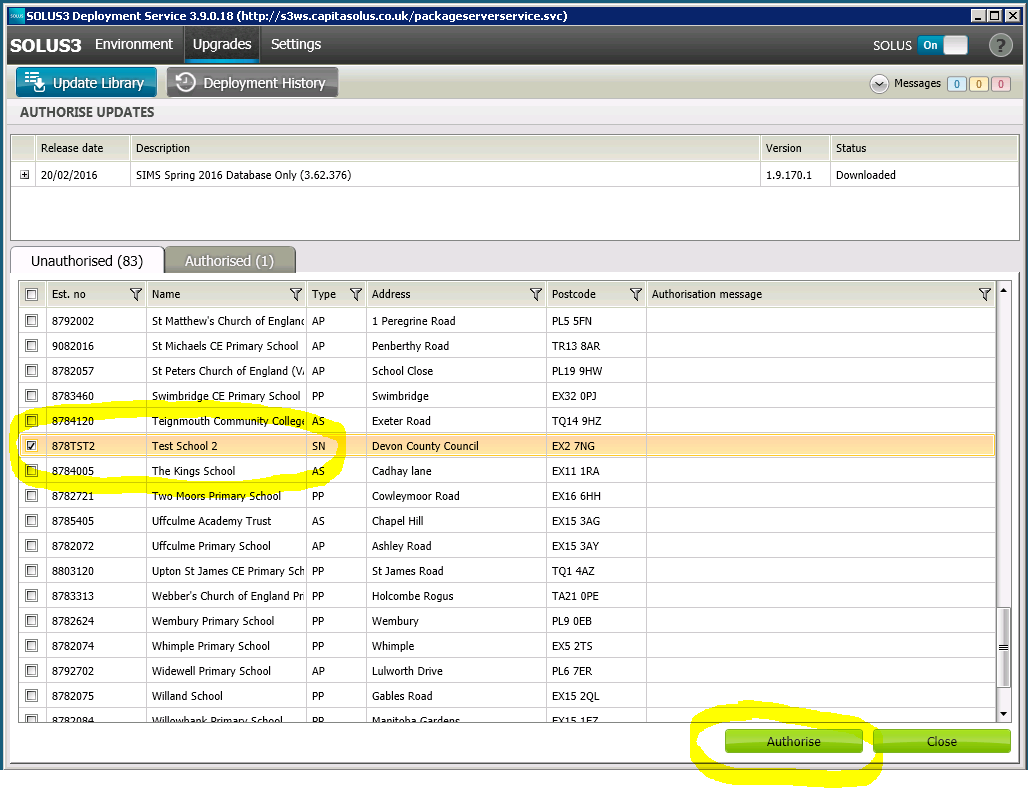
From the “Authorise Updates” screen, find the school(s) you want to authorise the update for and tick the box(es) next to them, then click “Authorise”.
You will get a “Confirm update authorisation” box pop up – click “Yes”.
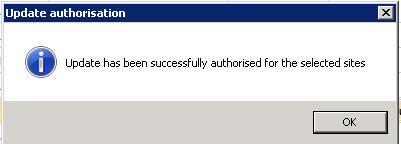
You will then receive another pop up box confirming the update has been authorised. Click “OK”.
Just as a final confirmation, click on the “Authorised” tab to ensure that the school(s) you just authorised the update for are showing.
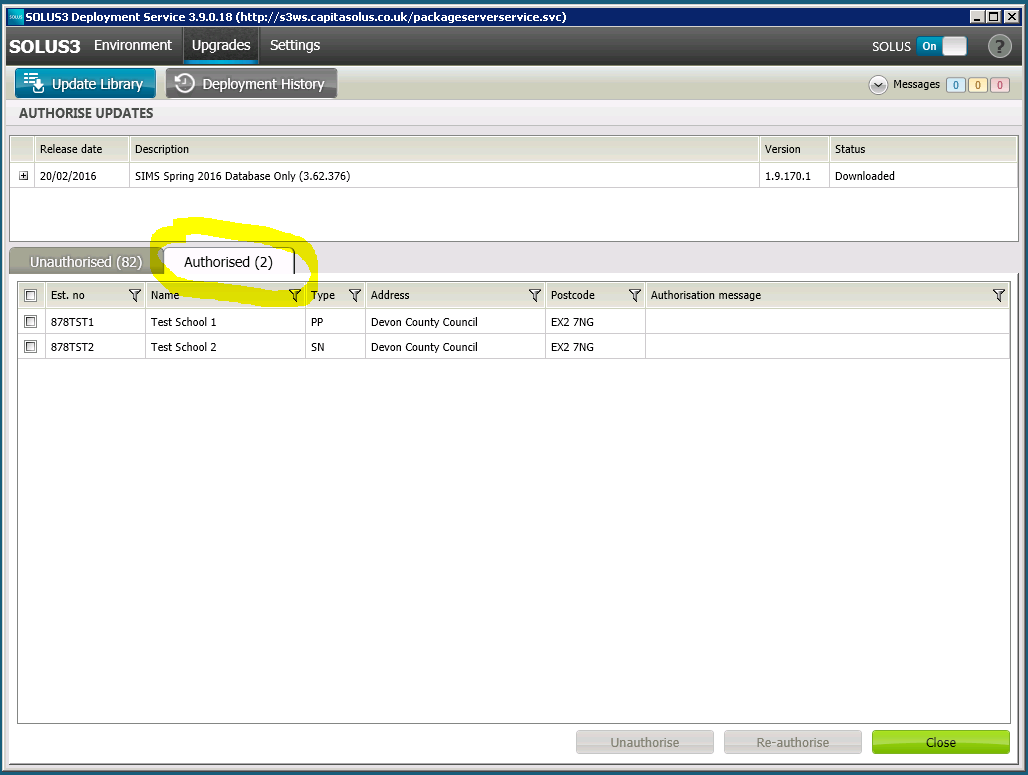
Once happy the correct updates are authorised, click “Close” and then exit Solus 3 and log off of the Solus 3 server.