Checking for Updates via Solus 3
If your updates are not scheduled to run automatically, then follow the below procedure to use Solus 3 to check for updates.
On the machine where Solus 3 is installed, run the SOLUS3 User Interface from the icon on the desktop.
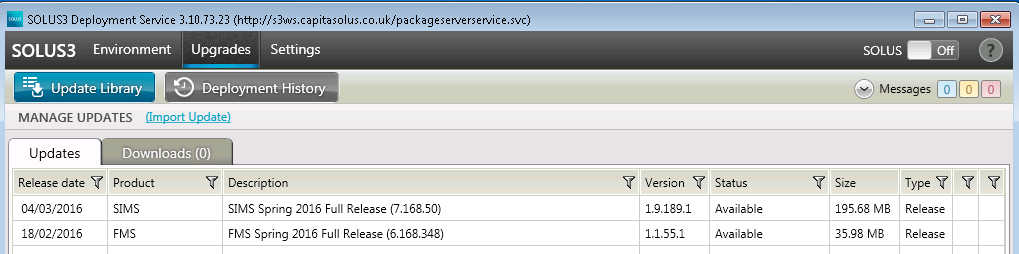
From the main Solus 3 screen, click on “Upgrades” and then “Update Library”:
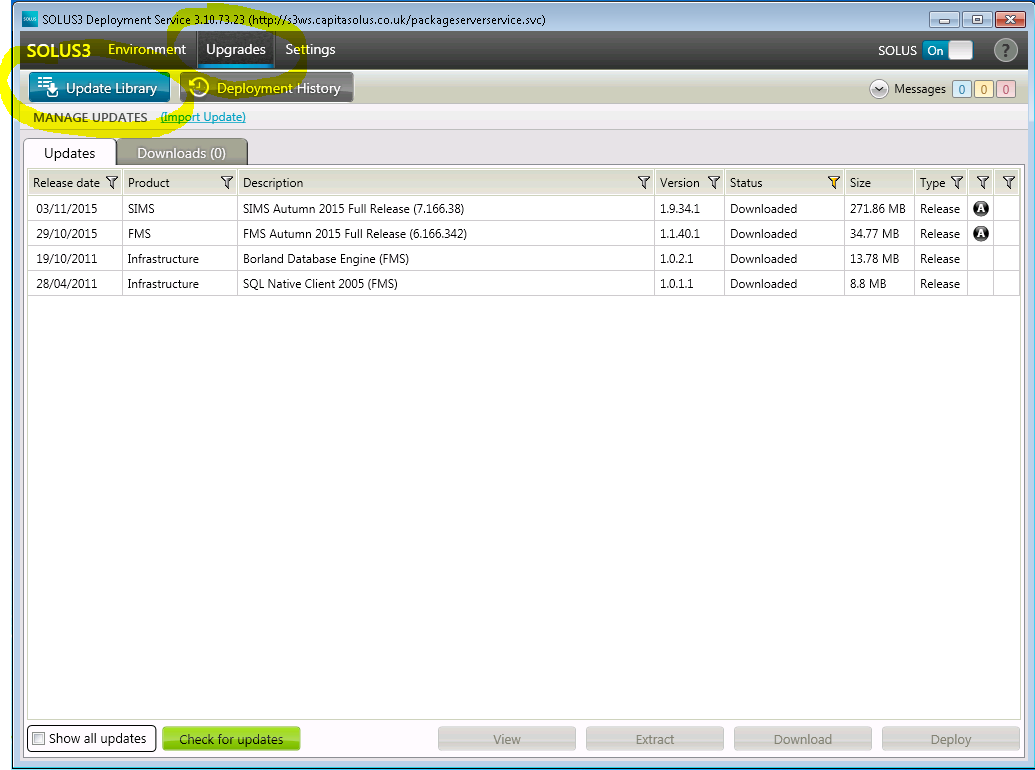
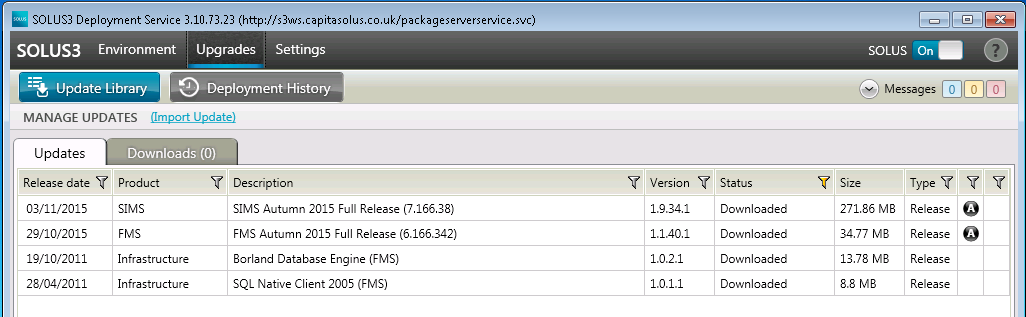
When your Solus 3 system was setup, it was set to automatically download any updates allocated to your school on a daily basis. Therefore any updates/patches that have been previously allocated to your school will be listed here as per the example below:
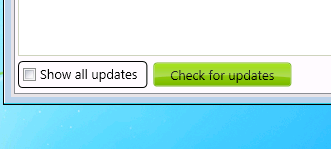
If the current updates are not showing on this list, you can force Solus 3 to check for updates by clicking on the “Check for updates” button on the bottom left hand side of the updates screen.
The following message will appear in the centre of the screen to show that it is checking on the Capita server for any new updates:

If any new updates have been found, a message will be displayed showing the which updates found for your school.
Click OK to this message and then the updates will then be displayed on the list with a status of “Available”.
Click on the update to select it and then click on the “Download” button to download the update.
When the file has successfully downloaded, the status will show as Downloaded.
Now that the files have been successfully downloaded you can go on to schedule the upgrade to run overnight or Deploy it straight away.