Adding a Machine to Solus 3 on a Peer to Peer Network
If you have got Solus 3 installed on your Windows 7 based Admin network and wish to add a new SIMS/FMS/Discover workstation then please do the following:
On the new machine which is to be added, browse to G:\SOLUS3\Workstation Setup Files
. In this folder you will see the installer files for the Solus 3 Agent which must be installed.
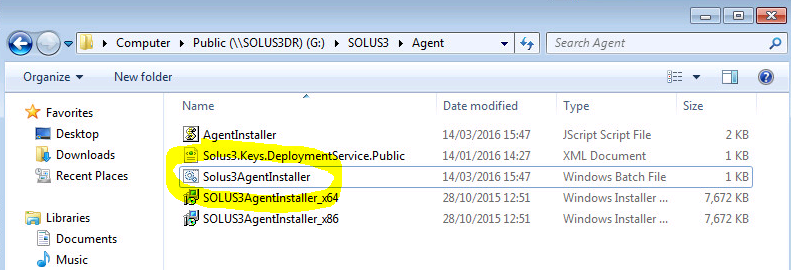
Select the “Solus3AgentInstaller” batch file and double click it.
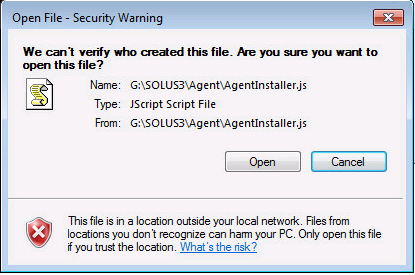
Click “Open” when prompted.
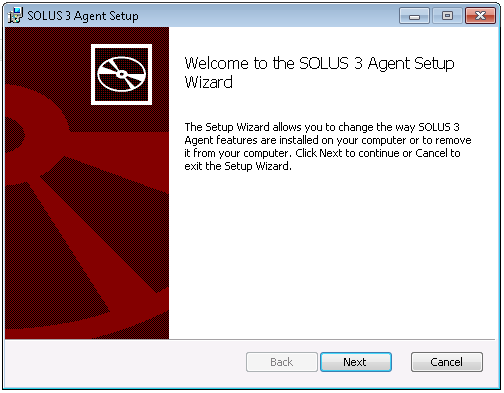
Click “Next” when prompted.
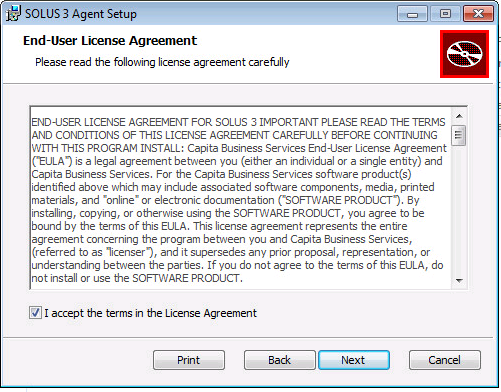
Tick the box to accept the License Agreement and click “Next”.
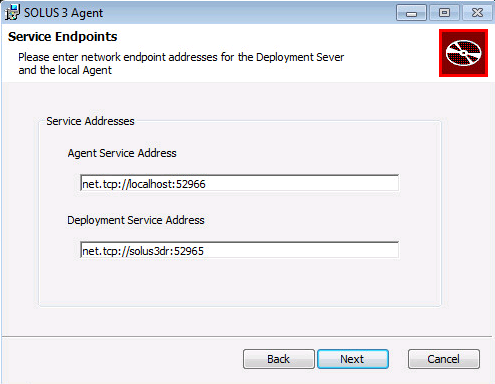
Click “Next” on the Service Endpoints” screen.
Click “Next” on the “Public Key” screen.

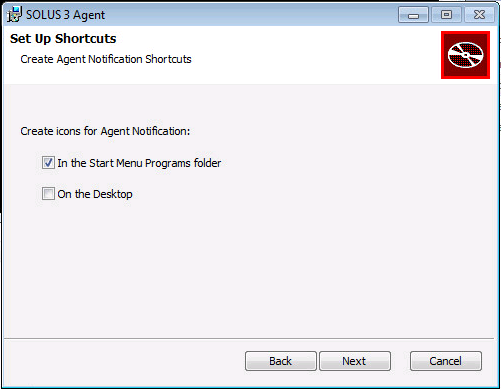
On the “Shortcuts” screen, UNTICK the “On the Desktop” option and click “Next”.
Accept the default “DestinationFolder” by clicking “Next”.

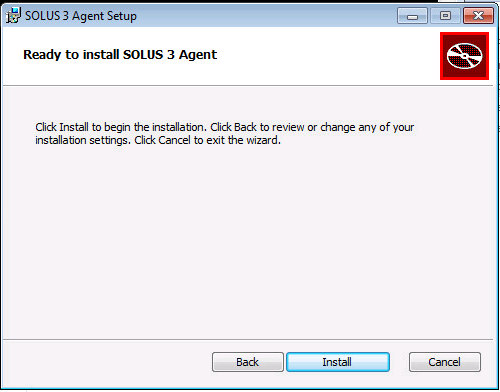
Finally, click “Install” to get things started.
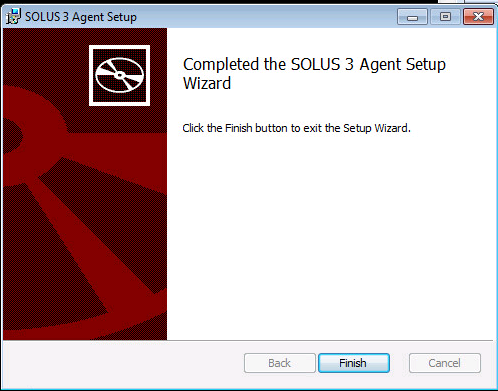
Once the install has completed, click “Finish” to close the installer.
Next, on the Main Admin machine, where Solus 3 is installed, open the Solus 3 Deployment Server UI.

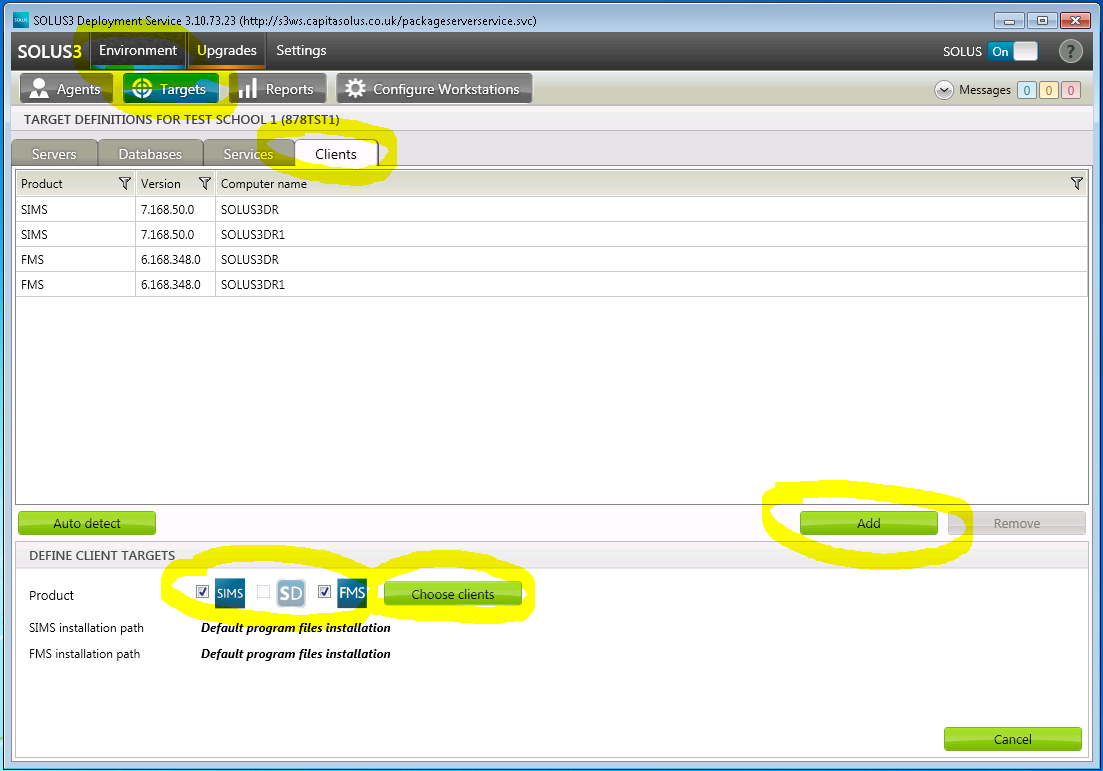
Once opened, click on “Environment”, then the “Targets” tab and then the “Clients” tab. The top half of the window shows the computer salready setup with SIMS/FMS/Discover. Click the “Add” button which will then show the “Define Client Targets” window. Tick the boxes for the products you wish to install on the new workstation (in the below instance, SIMS and FMS) and then click on the “Choose Clients” button.
Change the radio button to “Agents” and then select the new computer from the list. Then click on the right arrow to move the machine into the right hand window.

When the computer is showing in the right hand window, click “OK”.

Your selected options will now be deployed to the new machine.
When complete, you can check in “Environment”, “Agents, “Targets”. The name of your new machine should be present (in this case SOLUS3DR1) with the name of the software you just deployed to it showing – FMS Workstation and SIMS Workstation in this instance.

At this point, SIMS and FMS are now installed on the new machine.