Editing SEN Review Letter
When adding reviews to an SEN record, you can create a letter to send to parents directly from this area.
- Go to the pupil record and click on the SEN link on the right hand side.
- Scroll down or click the hyperlink to panel 4 – Reviews.
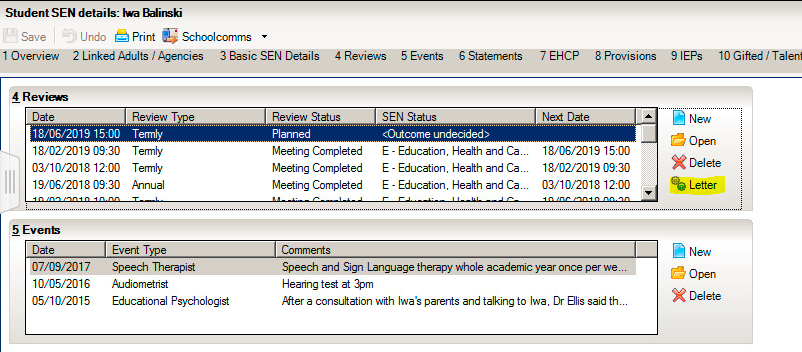
- Once you have created the review for this pupil and clicked save, highlight the review and click on the ‘Letter’ option on the right.
- This opens up the report browser window. Expand the menus until you reach the SEN Review Letter template.

- Highlight this template and click ‘OK’
- The report then opens up to show the template and the actual letter with the pupil’s details included.

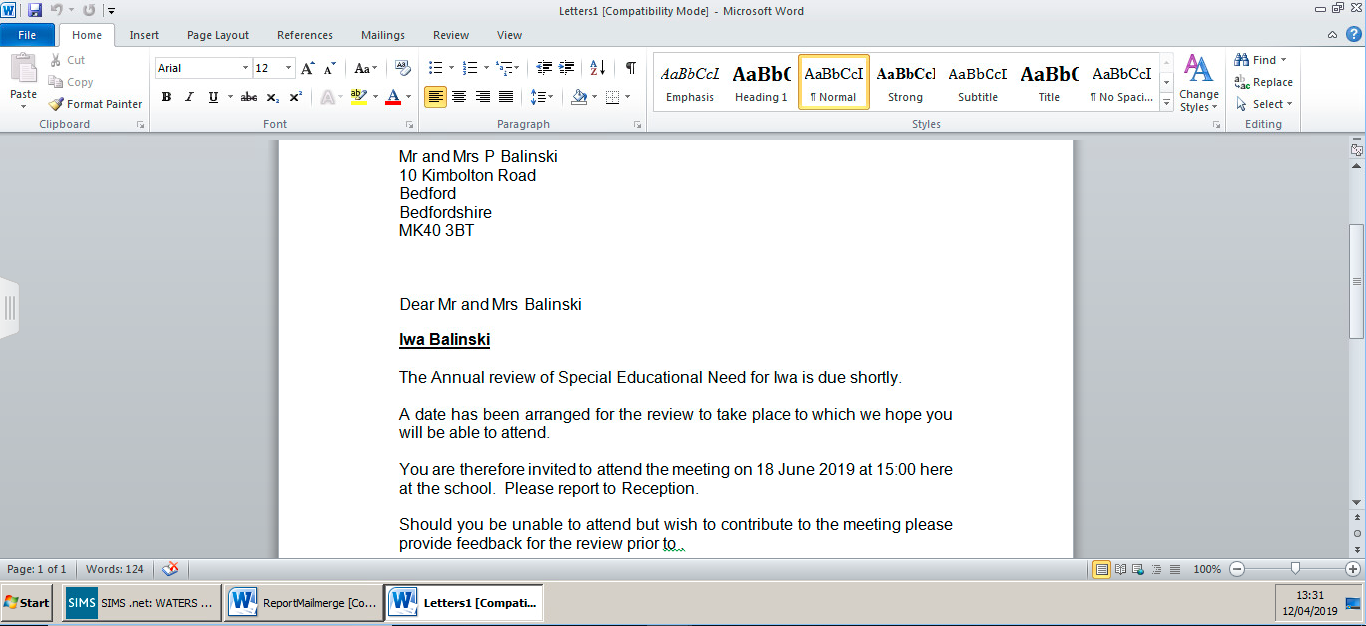
- If you are happy with the wording and the fields that are included in the letter then you can print and send to parents.
If you are not happy with the wording that is included in the letter, or you want to add in your school header/footer, you can follow the instructions below to amend the actual letter.
- Go to Reports – Design Report – Open Existing Report.
- Browse through the folders to Focus – SEN Review and open up the SEN Review Letter.
- The first screen shows the fields that can be used in the letter, you can add new fields in here. (Don’t worry about removing irrelevant fields as they will only show in the letter if you add them in the world template).
- Next through the report until you get to the ‘Define Presentations’ screen.

- Click on the ‘Edit’ button to open up the existing template.
- Once the report is opened, you can paste in any letter headers/footers that you want to use.
- You can also amend the wording to something more suitable to your school. If you are changing any of the fields that are pulled from the report (information specific to the pupil the report is being run on) you need to add in the fields in the following way.
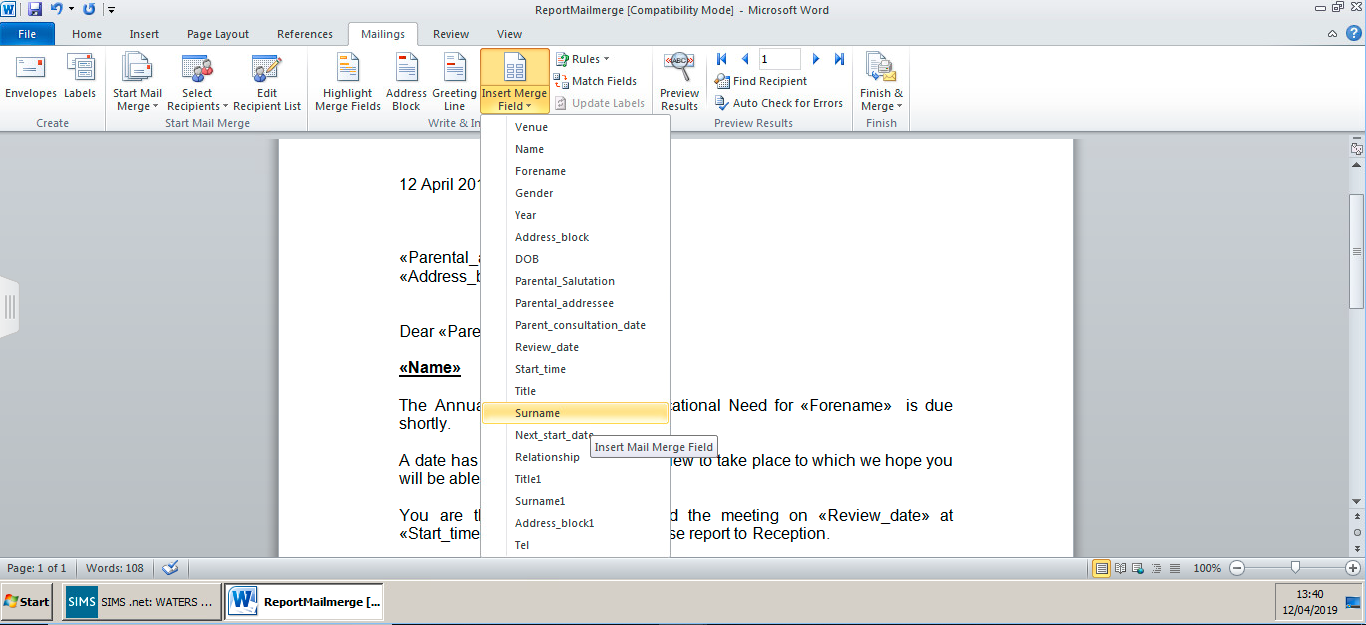
- Within the template, go to the Mailings tab and click on ‘Insert Merge Field’ and select the fields you want to enter. This list is populated from the report fields selected earlier when creating the report.
- Once you have made any changes, click on the save icon in the top left corner and then close the word document.
- Once you have closed the word document, make sure you then click ‘Save As’ on the report definition.
- Rename the report so that you can identify it clearly.
- Close the report design page and then repeat the first set of instructions, choosing your new report definition.