Creating New Mail Merge Templates for Printing Labels
- Create your report as normal, including any fields that you want to include and any filters that are necessary.
- Go through the report wizard until you get to ‘Report Output’ and select Word Mailmerge. Click ‘New’ to create a new template.
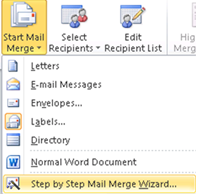
- When word opens, make sure you are in the mailings tab and click Start Mail Merge and select ‘Step-by-Step Mail Merge Wizard’.
-
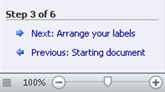
Click on the previous link button twice (to start at the beginning).
-
Change the radio button to ‘Labels’.
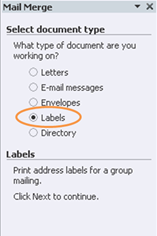
Then click the ‘Next’ link.
-
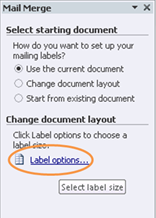
Click on the ‘Label Options’ link.
-
Choose a label definition (I have chosen ‘L6023’ as an example).
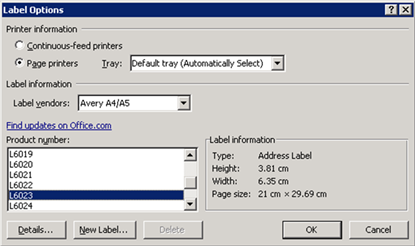
If you do not need to create a new label format, proceed past this next step.
-
If you need to create a new label. Click the ‘New Label’ button.
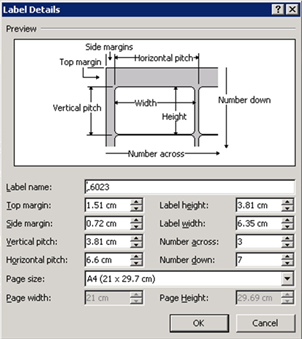
Adjust to the parameters of the labels you wish to print on and name the custom label. Once you are happy and click ‘OK’, your new label will appear in the ‘Other/Custom’ selection under the ‘Label Vendors’ drop menu.
-
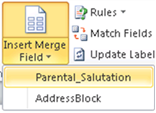
Click on the ‘Insert Merge Field’ button and input your data as required.
-
Select the text that has now appeared in your first label and select the ‘Quick Style’ of ‘No Spacing’ (found on the ‘Home’ tab at the top of your screen).

-
Click on the ‘Update Labels’ button.
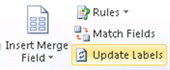
This will then fill out the rest of your labels with repeated fields.
-
Click ‘File’ and then click ‘Save’.
-
Then proceed the exit Microsoft Word.
-
Open up your current SIMS window and click ‘Save’.
-
Now click ‘Run’ and your labels should populate correctly and at the correct label dimensions.
KB9155
Reviewed 27/7/20